In this blog post, I will talk about what I learned from making a Supabase Svelte project. The plan for making this project is explained in this blog post. I will go over the obstacles I've overcome when trying the different building blocks of the project, namely self-hosting supabase, setting up Svelte, enabling third-party authentication and email sending.
Self hosting Supabase
The advantage of Supabase is that it supports self-host, so I don't have to worry about limits and bills. I went ahead and searched for the official tutorial. I expected a very complete tutorial that covers every step, but what I got was a very high-level overview of how to do it, talking about architecture, configuration, database etc. Then there is another tutorial on self-hosting with Docker. To their credit, there is a very concise script for getting the docker running, but that's all you get in terms of a hands-on tutorial. The rest of the article is yet another high-level overview of important things to do. This is fine for experienced developers, but as a new developer, I would have appreciated better guidance.
At that time, I didn't know what is docker-compose, how I deploy the docker from the local environment to the production environment (my VPS), and how to set up the secrets, so I kept on searching for more helpful tutorials.
Luckily, I stumbled upon this Youtube tutorial, huge shout out to Kelvin Pompey. He demonstrated the entire process of self-hosting Supabase with an Ubuntu Server on Digital Ocean, which I was able to follow step by step, and reproduce the working Supabase backend. I didn't use Digital Ocean, I used a VPS from Oxide Host since I've been using them for a few years starting from hosting a Discord bot, and the service is reliable.
I learned how to set up supabase, how to install docker-compose and that docker-compose starts the processes inside the docker-compose.yml file, and to update the secrets inside the .env file before deploying the Supabase.
Setting up Svelte front end
Now that I've set up the backend, I want some example frontend code to test if the backend is working. I was originally thinking about making a React app as it is pretty popular. But I found an officially maintained to-do list app written in Svelte, since it is very similar to a prayer tracker, I've decided to use that as the skeleton code and build on that.
The code is within the Supabase repo, and the Supabase repo is huge, so I don't want to clone the entire thing, just the part I need.
Only cloning a part of a repo
I've learned this from this StackOverflow post. We need the latest version of Git, I failed at first because I was using an older version of git that doesn't support sparse checkout.
I am going to use the Supabase repo as an example, the --depth 1 flag stops git from cloning any files inside folders. and the --filter=blob:none will filter out all blobs (file contents) until needed by Git, and --sparse just tells git you plan to git checkout later.
Then we cd into the directory, and sparse checkout, with set as the path of the content we want to check out.
git clone --depth 1 --filter=blob:none --sparse https://github.com/supabase/supabase
cd supabase
git sparse-checkout set examples/todo-list/sveltejs-todo-list
Then I just needed to run npm install to install the dependencies and npm run dev to run the Svelte project. I also installed nvm to manage the version of Node js.
I also needed to update the .env file to paste the Supabase host address, and the anon_key used in Supabase. Side note: I used the default credentials the first time I used Supabase, when I changed the credentials, the database no longer recognised me, I had to do docker-compose down --volumes to reset everything after I updated the .env credentials.
Enabling third-party authentication
Supabase supports third-party authentication, and it does that by recognising the email address. So let's say you used the same email address example@example.com on Google and Facebook, signing in with either will lead you to log in to the same account.
These third parties use an authentication standard Open Authentication (OAuth). OAuth is a protocol that allows applications to access user information without requiring their password. This allows users to securely share their information with third-party applications, minimizing the risk of a security breach.
Basically, instead of identifying a user using a password, the app asks Google, "do you trust this guy?". If Google trusts them, the app trusts them too.
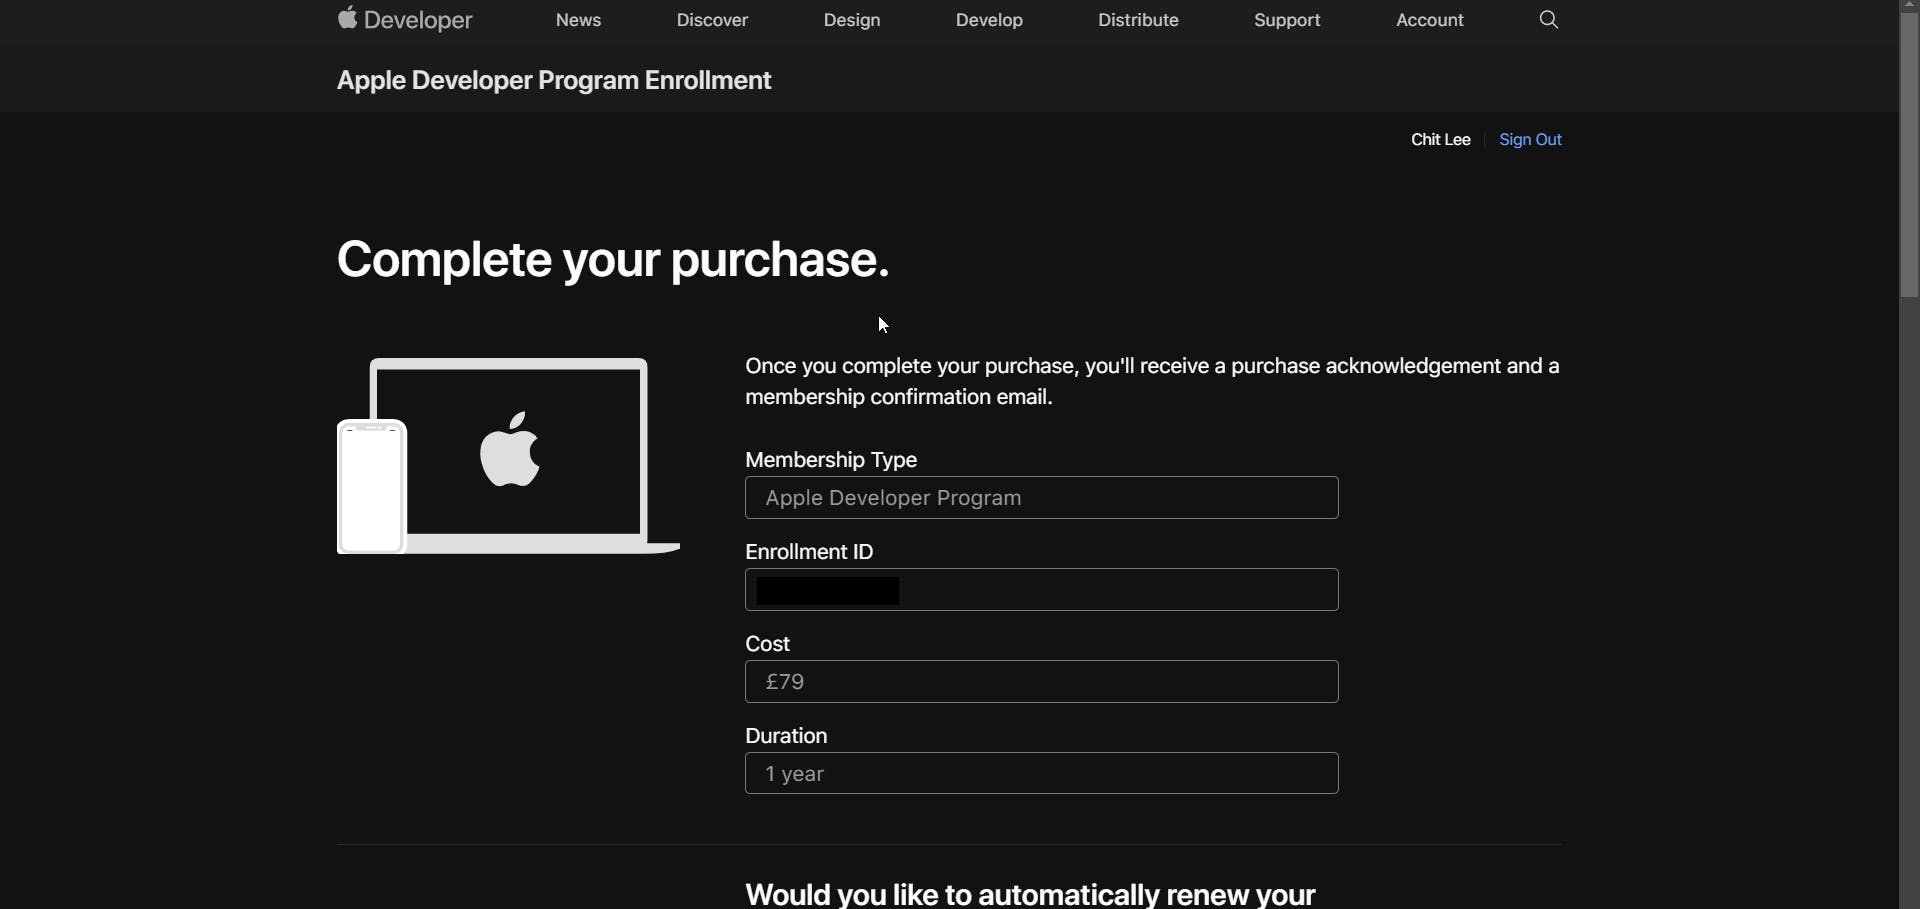
To enable this, we have to create an account on the OAuth provider. I was able to do it for Google and Facebook. For Apple, the OAuth requires me to create an Apple App, and that is locked behind a paywall. I need to pay 79 pounds a year to access that, so I won't be using that.

Problem with Twitter OAuth
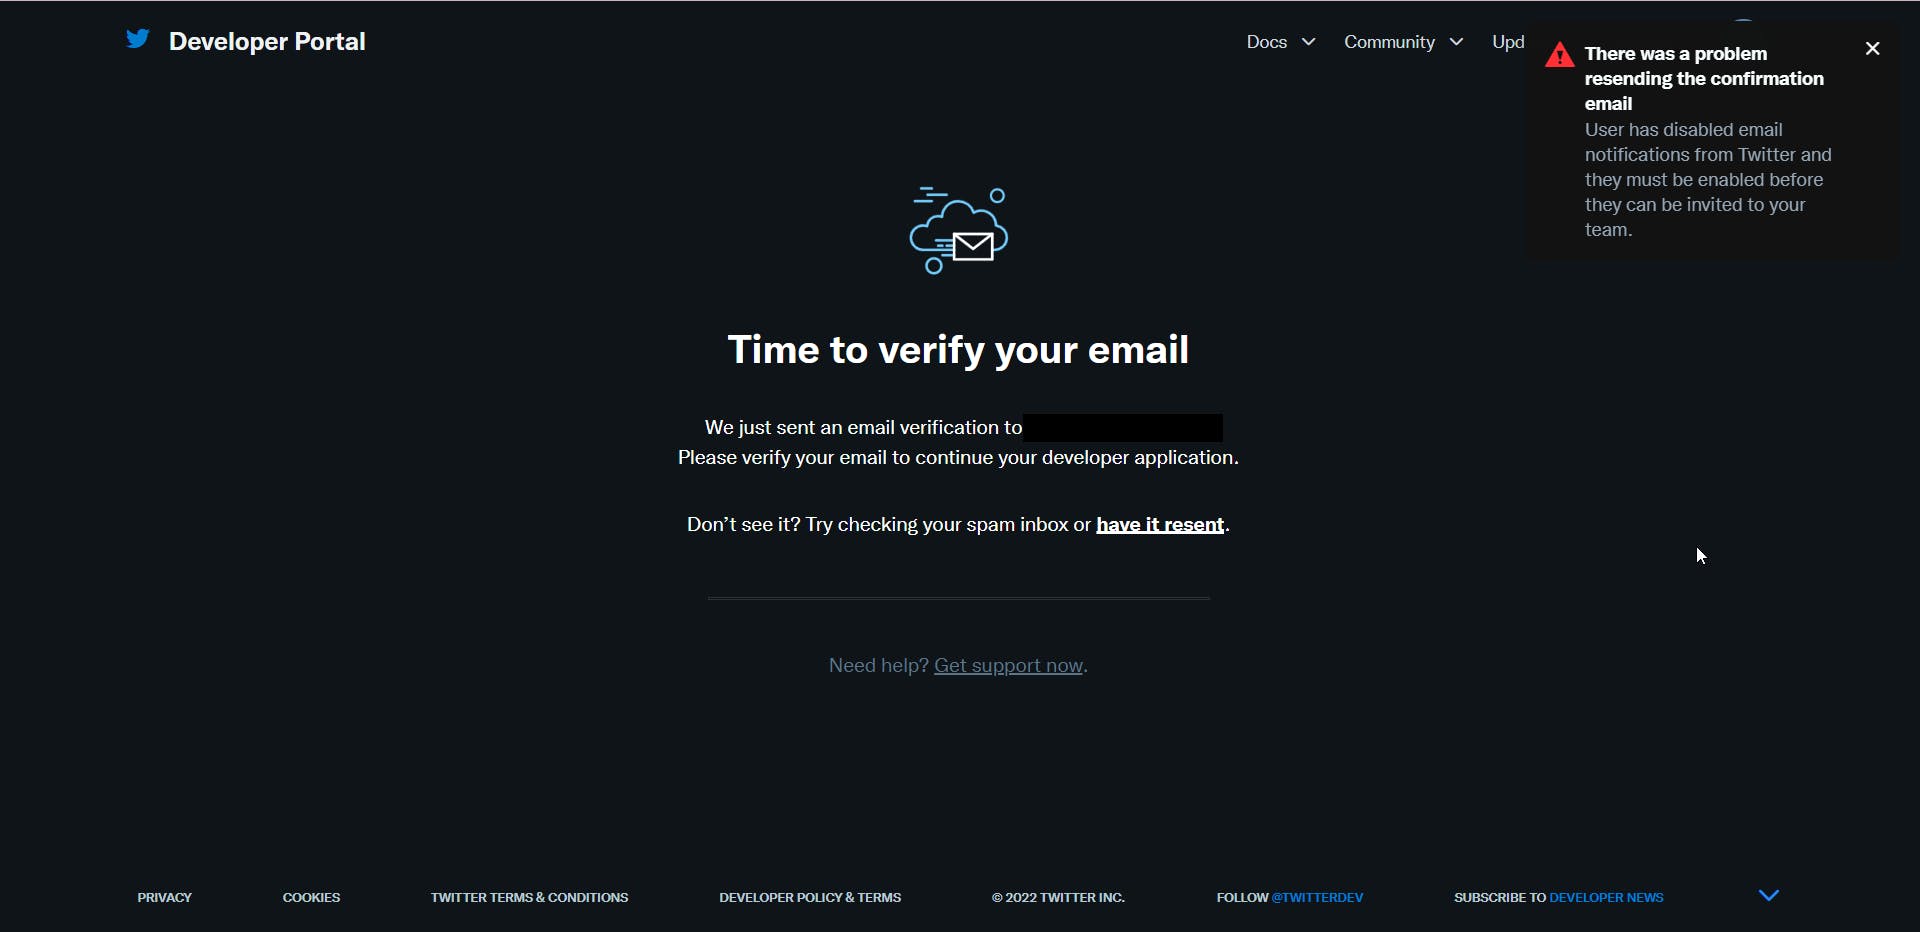
When I try to do it on Twitter, the funniest/most annoying issue happened. On the sign-up page, there is a button that asks do I want to receive marketing emails from them, I said no. Then they said they have sent a confirmation email to my email account, I didn't receive it, so I clicked have it resent. Guess what they said: "There was a problem resending the confirmation email, User has disabled email notification from Twitter...". I checked my Twitter setting and email notifications are on.

I then registered from the Twitter developer account on another Twitter account, this time ticking the marketing email field, this time I was able to get the confirmation screen and do it. So I think this was the issue. The funniest thing is that I was unable to fix this issue, I cannot find the setting to re-enable marketing email on the Twitter developer page.
Email sending
For email sending, originally I thought I can send emails from my VPS. So I searched for How to send emails through VPS. Every result uses Gmail or another managed email service, apparently, we can't simply use a VPS to send an email, I needed something called an SMTP server.
So I went on and search for How to host an SMTP server on a VPS. I found an article that says hosting a mail server is like building a jet, the article isn't trustworthy since it is from an email-sending company and they have a monetary incentive to say this. I wanted to find some open-source solutions that I can install in 1 step and be done, but there aren't any. Therefore I concluded the article was right and I gave up making my own SMTP server.
I had to find an email-sending service. I looked at different ones, SendInBlue has the largest free-email sending quota, 300 emails per day, which means 9000 emails per month. Of course, this is assuming 300 people sign up per day, which is highly unlikely, the number usually fluctuates. Still, this is the largest quota, so I went with them.
Conclusion
In this blog post, I talked about the process of creating a Supabase Svelte project. Including challenges I faced when self-hosting Supabase, setting up Svelte, enabling third-party authentication and email sending. I also wanted to talk about routing, SSL, domain name and storing information inside the web browser, but I realized this article already got very long. I've decided I'll write about them in part 2 of this blog post. So stay tuned.

